GPIO via Bash
Overview
Teaching: 30 min
Exercises: 20 minQuestions
How can you interact with the GPIO?
What do pins do?
How can you refer to pins?
Objectives
Understand relationship between the physical (pins) and virtual (file-system)
It is possible to access the GPIO directly via the command line using bash commands to configure and manipulate the devices directly via the linux kernel.
This command will make the pin available to userspace for programming:
$ echo "17" > /sys/class/gpio/export
This command will set whether the pin should be for input or output:
$ echo "out" > /sys/class/gpio/gpio17/direction
This command will set the pin to “HIGH.”
$ echo "1" > /sys/class/gpio/gpio17/value
And this sets it back to “LOW.”
$ echo "0" > /sys/class/gpio/gpio17/value
And this sets it back to “LOW.”
$ echo "17" > /sys/class/gpio/unexport
The capabilities are limited, however, and not all of the functionality is available using these low-level tools. There is more complete documentation
There are higher-level libraries that offer more robust ways to interact with the GPIO that we’ll be studying next. But it’s worth being aware of how the system is put together at the lowest level.
WARNING! raspi-gpio set writes directly to the GPIO control registers ignoring whatever else may be using them (such as Linux drivers) - it is designed as a debug tool, only use it if you know what you are doing and at your own risk!
The raspi-gpio tool was designed to help hack/debug BCM283x GPIO. Running raspi-gpio with the help argument prints an informative help message. raspi-gpio can get and print the state of a GPIO (or all GPIOs) and can be used to set the function, pulls and value of a GPIO. raspi-gpio must be run as root.
There are several high-level libraries for interacting with the GPIO. We’re going to use GPIO Zero for most purposes. But it’s worth understanding that it is built on top of a lower-level library RPI.GPIO. The higher level library abstracts a lot of the underlying complexity.
Let’s do “blink” again, but with the Raspberry Pi.
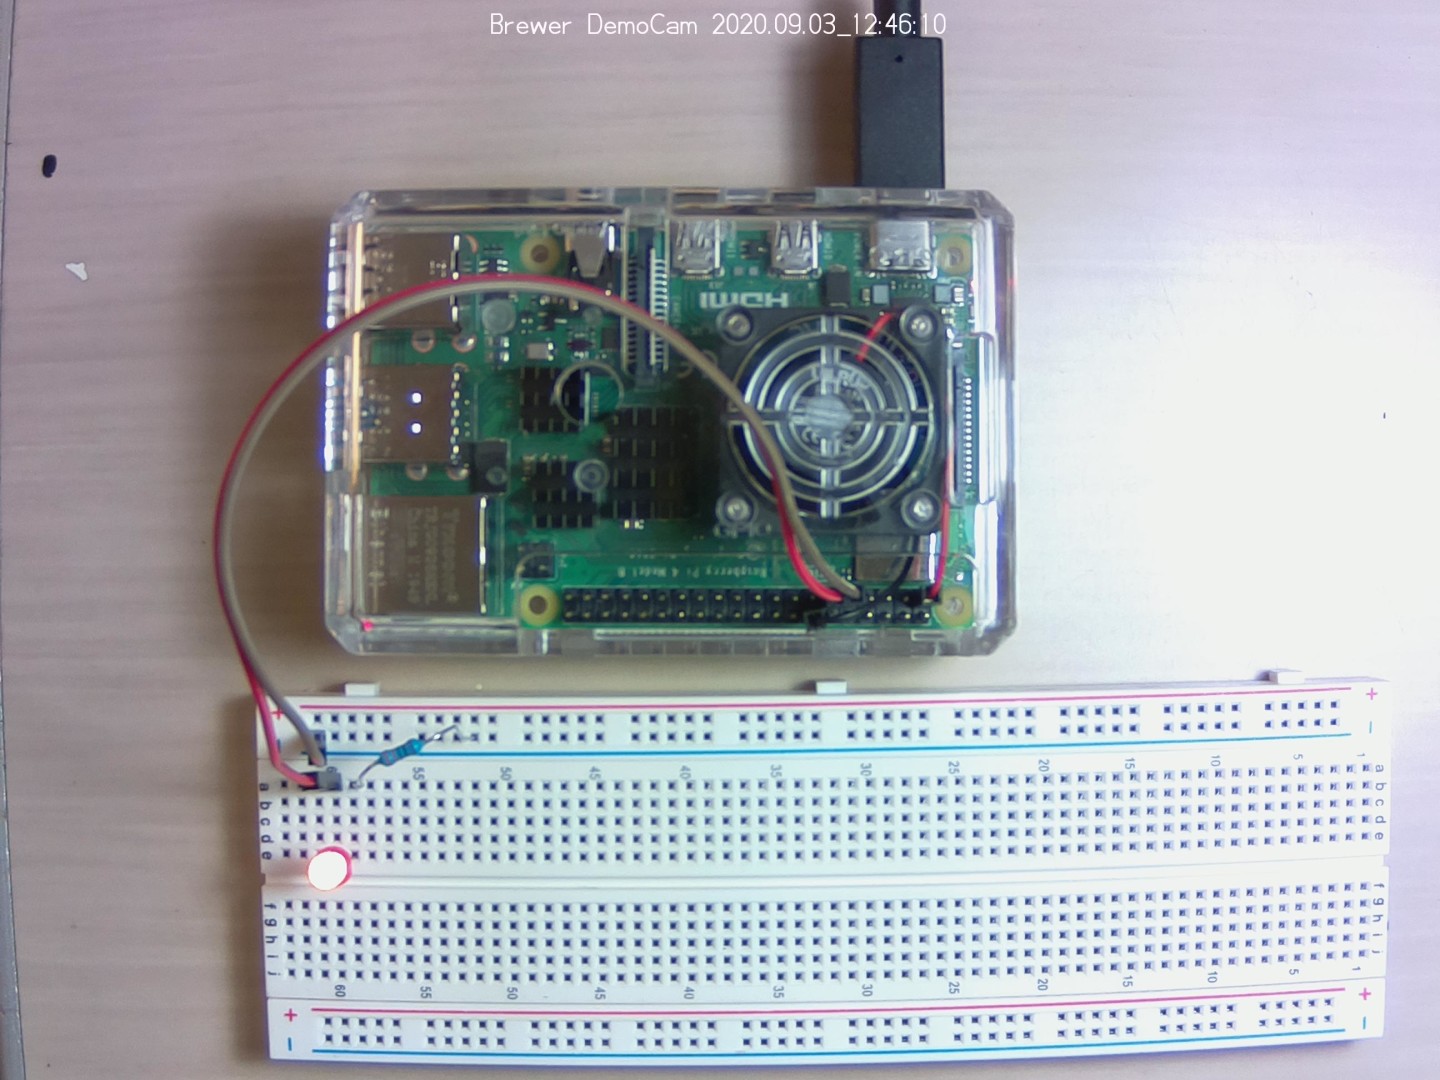
#! /usr/bin/env python3

from gpiozero import LED
from time import sleep

led = LED(17)

while True:
    led.on()
    sleep(1)
    led.off()
    sleep(1)
Note: you may need to install the GPIO Zero and/or RPi.GPIO libraries.
Key Points
GPIO elements appear in the Raspberry Pi file-system and can be easily inspected/modified.